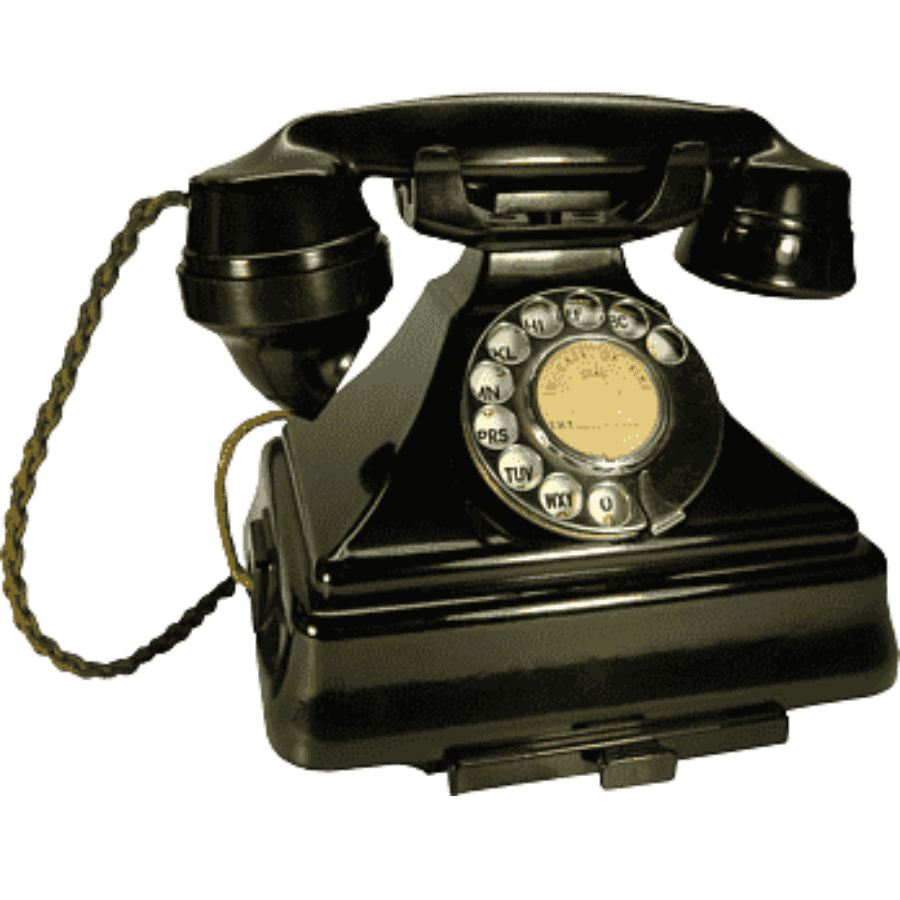

Retro & Antique Rotary Phone Sale:
Yes sale we now have available our very own Tone Dial adaptor selling at $129.00.
This means the old rotary phones from a bygone era can be brought back to life. I currently have for sale just 20 dial phones from the 60s and 70s all in really good condition and fully serviced.
We are selling on Facebook Market Place please visit our Facebook page for Listings...

How To Wire A 1960s - 1970s Dial Phone:
Wiring a 1960s-1970s dial phone requires a basic understanding of telephone wiring principles. The wiring scheme for these phones typically follows a standard configuration. Here's a step-by-step guide to wiring a dial phone from that era:
Gather the necessary tools: You will need a screwdriver, wire strippers, and electrical tape.
Identify the phone line connections: Look for the terminals or screws on the back of the phone. There should be at least two terminals labeled "L1" and "L2" or "Red" and "Green." These terminals are used to connect the phone to the phone line.
Strip the wire ends: Using the wire strippers, carefully strip about 1/4 inch of insulation from the end of each phone line wire.
Connect the wires: Attach the stripped end of the red wire to the "L1" or "Red" terminal on the phone. Tighten the terminal screw to secure the wire in place. Repeat the process with the green wire, connecting it to the "L2" or "Green" terminal.
Check the connections: Make sure the wires are firmly attached to the terminals and there is no exposed copper wire. If needed, trim any excess wire.
Secure the connections: Wrap each terminal with electrical tape to insulate and protect the connections.
Test the phone: Plug the phone into a telephone jack and listen for a dial tone. Lift the handset and ensure you can hear a clear line.
Note: The above instructions assume you are wiring a standard rotary dial phone. If you have a different type of phone or a specific model, the wiring configuration may vary. In such cases, it's recommended to consult the phone's user manual or search for wiring diagrams specific to your phone model.
Please be aware that wiring a phone incorrectly can result in damage to the phone or potential harm due to electrical hazards. If you are uncertain about any step or are uncomfortable working with electrical components, it's best to consult a professional.


Wiring Bakelite Phones 1930 to 1950s:
Wiring Bakelite phones from the 1930s to 1950s varied depending on the specific model and manufacturer. However, I can provide you with some general information on how these phones were typically wired during that time period.
Bakelite phones were commonly known as rotary dial telephones and were widely used during the mid-20th century. They were named after Bakelite, a type of plastic used for the phone's casing. The internal wiring of these phones involved connecting various components such as the receiver, transmitter, dial, and the line cord.
Here is a basic overview of the wiring components in a typical Bakelite phone:
Receiver: The receiver is the part of the phone that you hold against your ear to listen to the incoming audio. It usually consisted of a speaker housed in a capsule-shaped unit. The receiver was connected to the rest of the phone through a pair of wires.
Transmitter: The transmitter is the part of the phone that picks up your voice when you speak into it. It generally contained a carbon microphone. Like the receiver, the transmitter was connected to the rest of the phone using a pair of wires.
Dial: The rotary dial was used for dialing phone numbers. The dial had a set of numbered holes corresponding to the digits 1 through 0. When you rotated the dial, it generated electrical pulses corresponding to the number being dialed. The dial was connected to the phone's circuitry using multiple contacts.
Line cord: The line cord provided the connection between the phone and the telephone line. It typically had four wires: two for the phone line (known as the tip and ring), and two for the phone's power supply (often used for the dial illumination).
The specific wiring diagram and color codes for Bakelite phones varied between different manufacturers and even different models within the same manufacturer. It is important to consult the documentation or wiring diagrams specific to the model you are working with to ensure proper wiring.
Keep in mind that working with vintage electronics, especially ones that involve electricity, can be potentially dangerous. If you are not familiar with electrical work or are unsure about the wiring, it is recommended to seek assistance from a professional or someone experienced in working with vintage telephones.
